")
")
- The Calculator Store Offers
- Scientific calculators
- Financial calculators
- Graphical Calculators
- HP Calculator Repair Service
- Classical HP Calculators
- The HP41 Corner
- The HP Prime Corner
- The HP15c Corner
- The HP12c Corner
- Calculator Accessories
- Selection guide
- Special offers
- Calculator blog
- Blog in Spanish
- Site Map
- Calculator Reviews
- Books
- Education
- why RPN?
- Cheap&cheerful calculators
-
The Calculator Store Club

- Audio

Calculator Types The HP15c Corner HP15c Programming cable HP15c CE firmware installation
Installing firmware
Warning: the firmware within your calculator is a copyrighted item. You may not trade or exchange this firmware, although you can keep a personal copy of it.
The first 5 steps of this procedure are similar to those used to retrieve the software from the calculator.
We assume that you have already installed SAM-BA 2.18 and properly connected your calculator to Windows, so that it appears in the Device Manager. If not, please refer to the original page How to use the programming cable.
Steps:
1. Start the SAM-BA 2.18 software. It initially starts very small in my computer, so you will have to extend it below and to the sides.
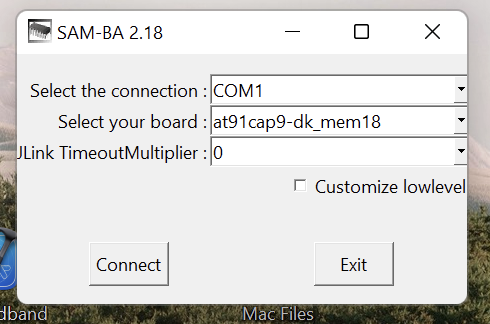
2. Choose the serial port that you have seen in the device manager.
3. Choose the model to be programmed:sam4l-ek[not factory programmed]
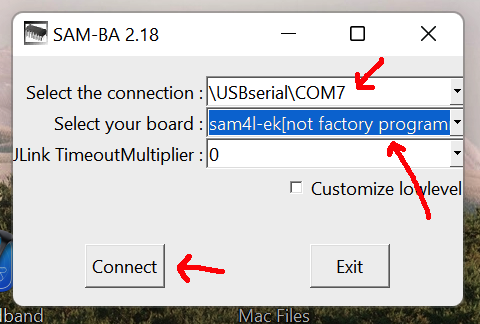
4. Press Connect. If everything is ok, you should get the screen below:
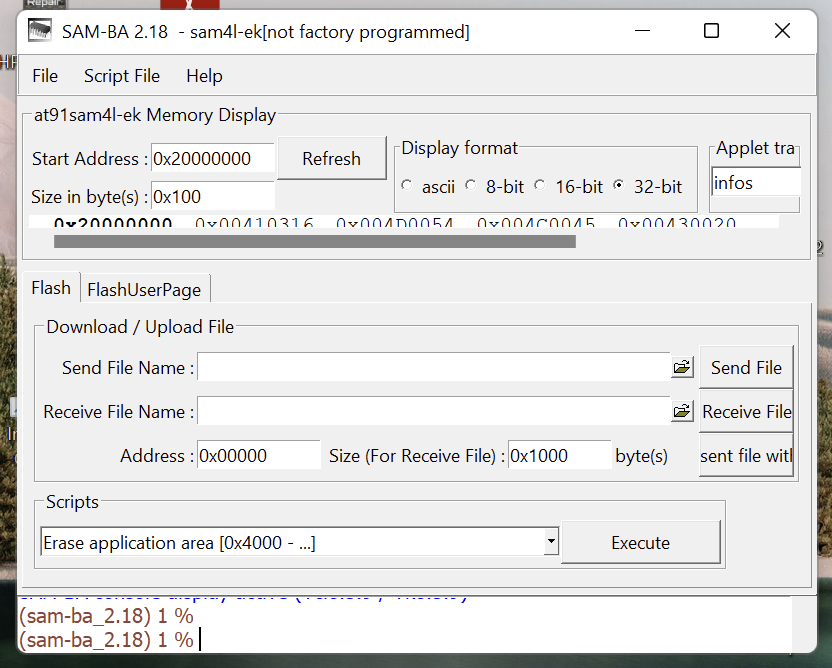
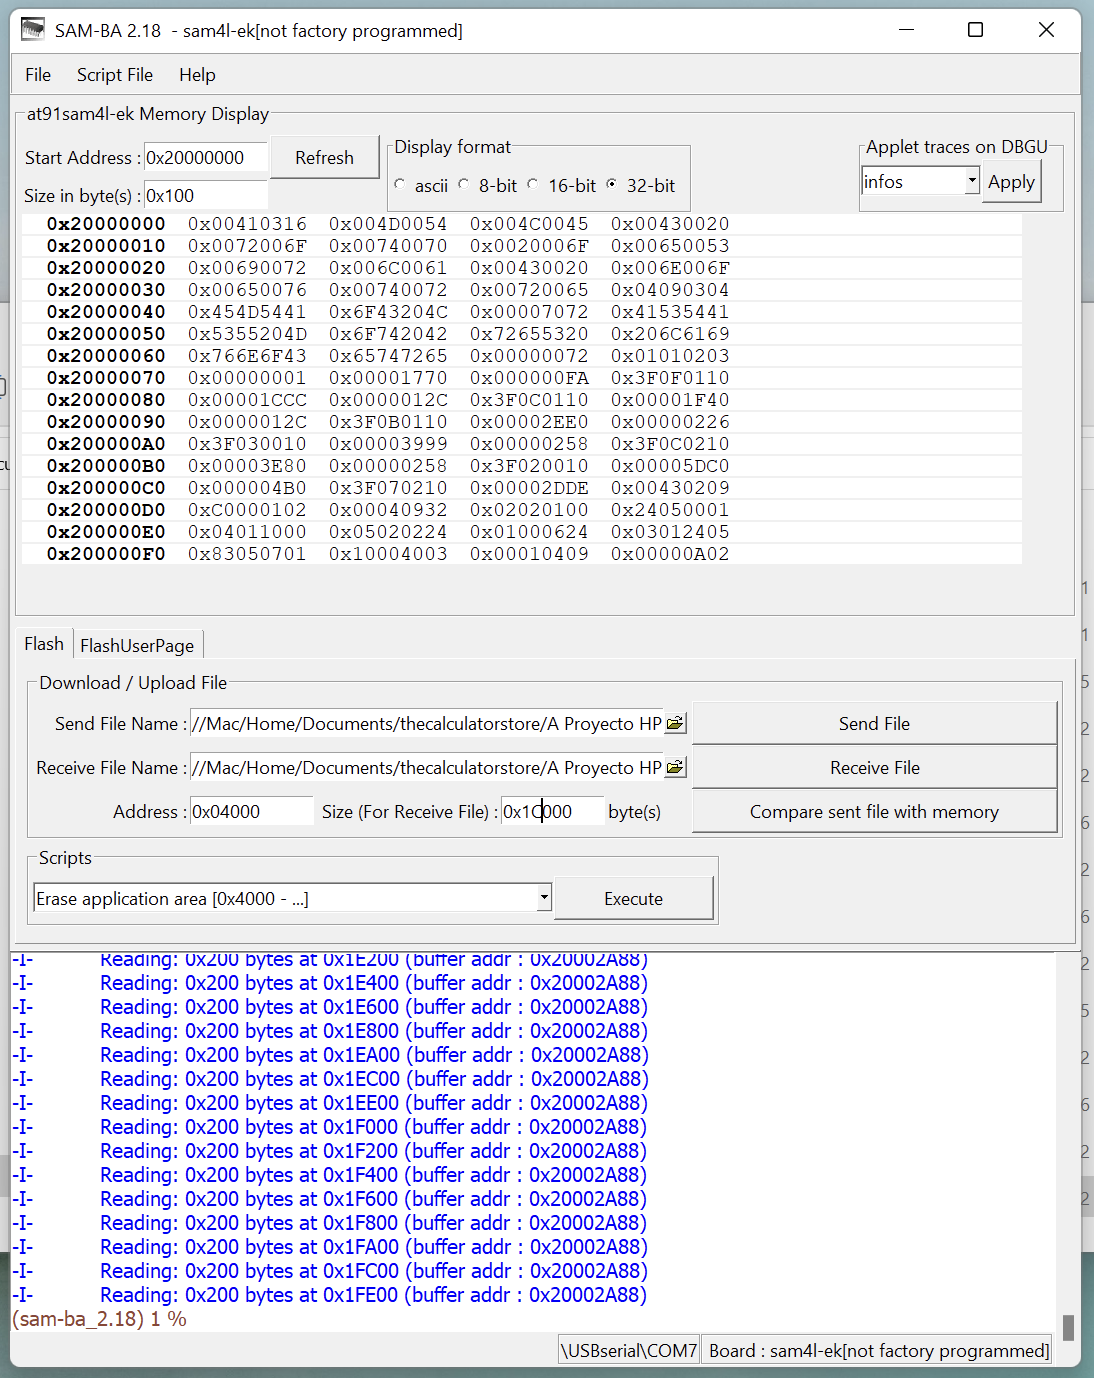
5. Make it bigger so that you can see all the fields:
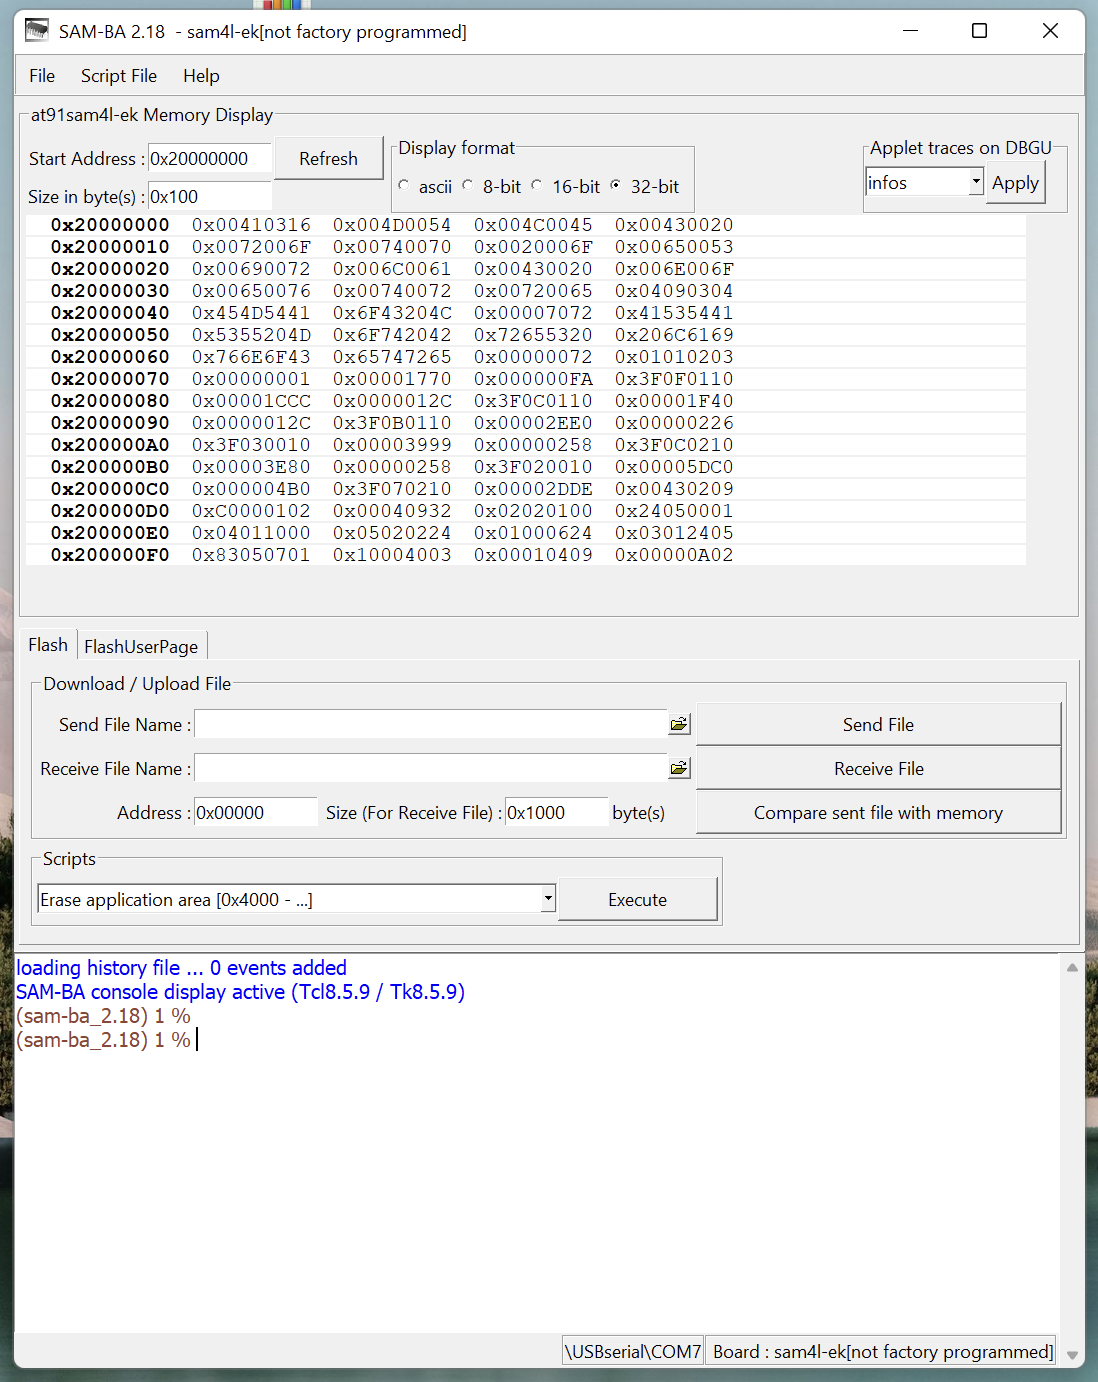
6. Click on the folder icon to the right of the field Send File Name, and navigate to select your firmware file. The filename ends usually with .bin
7. Put 0x04000 in the Address field, to place the pointer at the start of the user firmware and after the booting firmware of the Atmel processor. This is required to avoid overwriting the bootloader firmware at the beginning of the Atmel memory space.
8. Press on Send File button
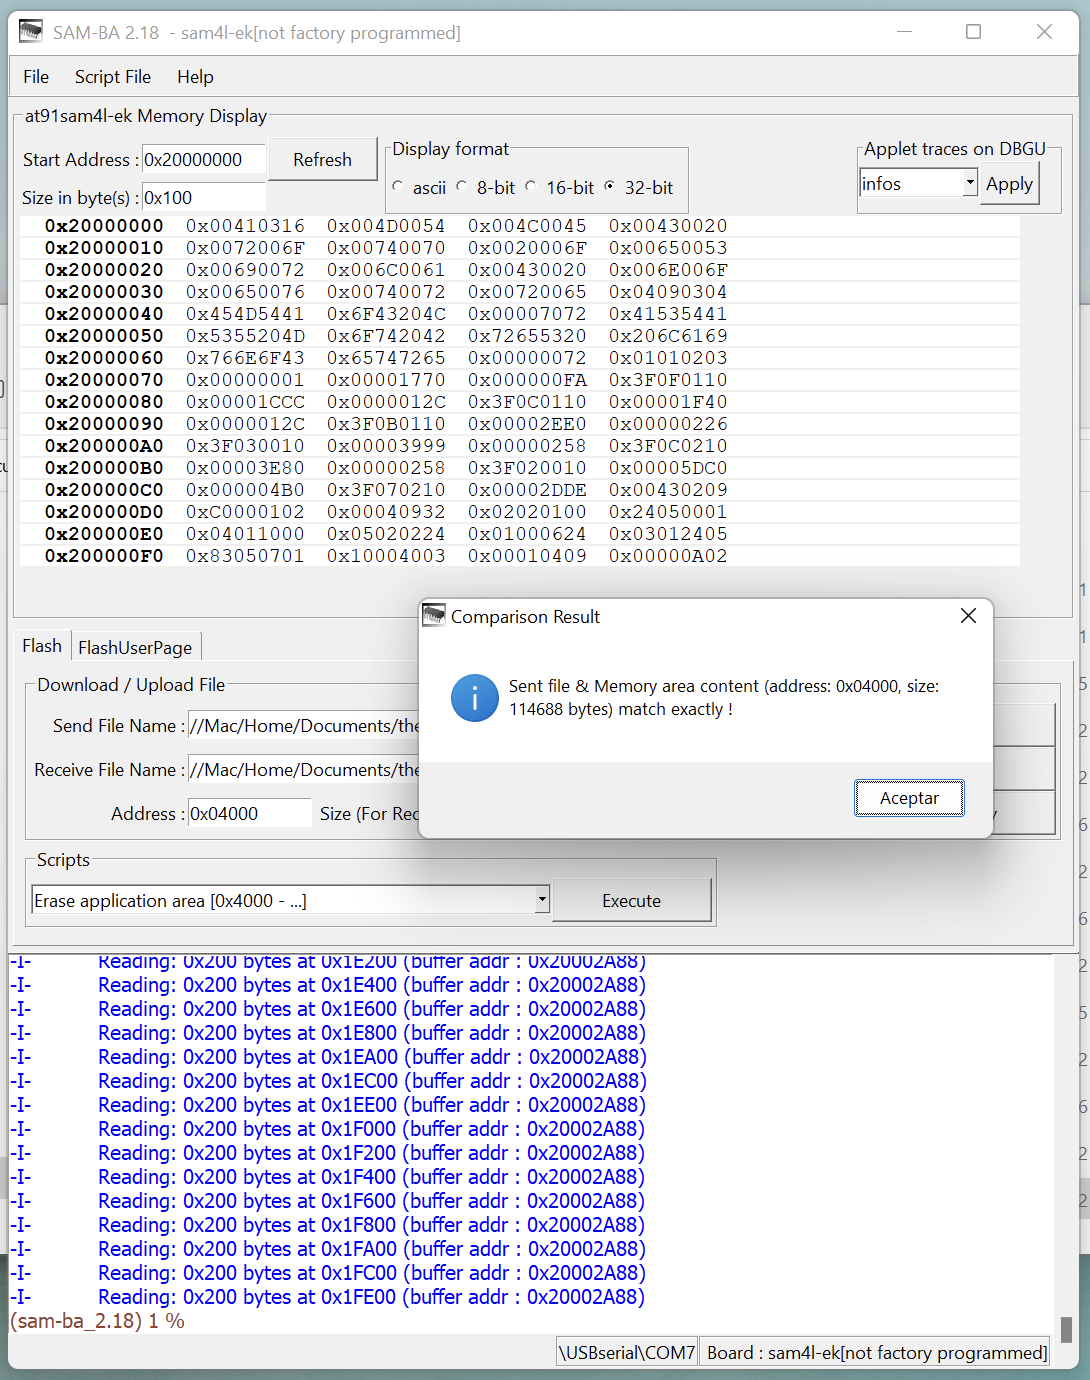
9. Check that the memory contents is equal to the file you have sent, by pressing "Compare sent file with memory". You should get the result below:
10. Press reset on the cable. Press "on" on the calculator keyboard. You should see "pr error". Your user memory has been cleared. Press any key and you'll see 0.0000.
To make sure we succeeded, please see the checksum of the firmware in your calculator. To do so, switch the calculator off, and, while pressing g+ENTER, press "on". You get to a menu: " 1.L 2.C 3.H ". You press 2 to get to the checksum. Note down the hexadecimal number.
- The original firmware that came with the HP15c had a checksum 9090h.
- The modified firmware we will propose in Modifying firmware to fix the DEC bug has a checksum AF90h
- The firmware that we send with our enhanced HP15c (which fixes the DEC bug AND changes the rebound time from 80ms to 100ms) has a checksum C6C6h