")
")
- El Rincón de la HP15c
- El Rincón de la HP41
- El Rincón de la HP Prime
- El Rincón de la HP12c
- The Calculator Store Offers
- Calculadoras cientificas
- Calculadoras financieras
- Calculadoras Gráficas
- Reparación de calculadoras HP
- Calculadoras HP Clásicas
- Calculator Accessories
- Guía de selección
- Productos en Promoción
- Calculator blog
- Blog en Español
- Mapa del sitio
- Comparativas
- Libros
- Education
- ¿Por qué RPN?
- Calculadoras baratas
-
The Calculator Store Club

- Audio

Calculadoras Calculator Accessories Módulo conector de baterías y puertos de expansión de HP-41c/cv/cx Plano
Calculadoras El Rincón de la HP41 Conector zebra para la reparación del las HP41c full nut
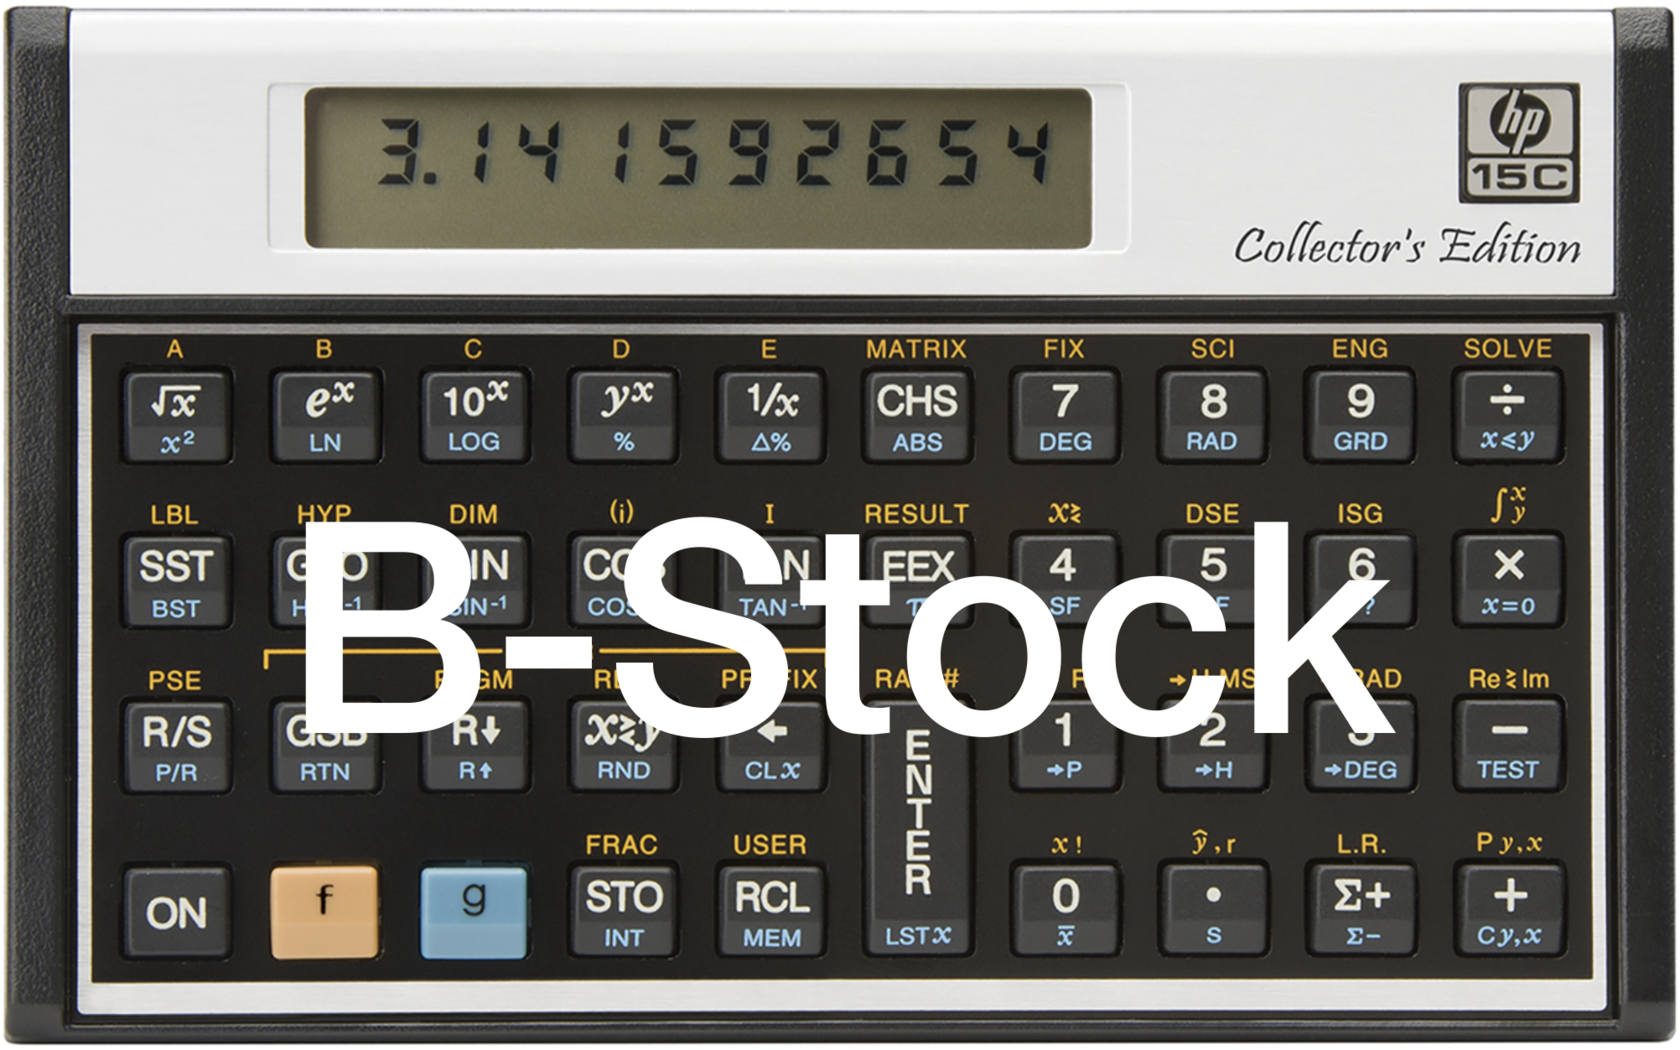
Calculadoras Calculadoras HP Clásicas HP15c enhanced pack - B stock
Módulo conector de baterías y puertos de expansión de HP-41c/cv/cx Plano
N.º de producto: Flex-PCB AssembledFlatEn existencias
Formas de entrega disponibles: Entrega gratuita, Courier España, Courier Zona 1, Courier Zone 2, Courier Zona 3, Courier Zone 4, Carta, Small item outside EU, Entrega Canarias/Baleares, Overseas traceable, Letter, Entrega gratuita España
Accesorios
| Producto | Nota | Estado | Precio | ||
|---|---|---|---|---|---|
|
|
22,00 € * | |||
|
|
44,00 € * | |||
|
|
12,80 € * | |||
|
* Los precios incluyen el IVA
Mostrar detalles del accesorio
|
|||||
 Kit de reparación para conector de baterías y puertos de expansión de las HP-41c/cv/cx
 Módulo conector de baterías y puertos de expansión de HP-41c/cv/cx
 Conector zebra para la reparación del las HP41c full nut
Los clientes que han comprado este producto también han comprado
 |
 |
 |
 |
 |
 |
Examine también estas categorías: Accesorios, Calculadoras Clásicas, El Rincón de la HP41, Inicio, Corroded Battery contacts, Corroded circuit paths, Damaged screen - not all segments light on, Científicas, HP 41C Repair, The Calculator Store Offers
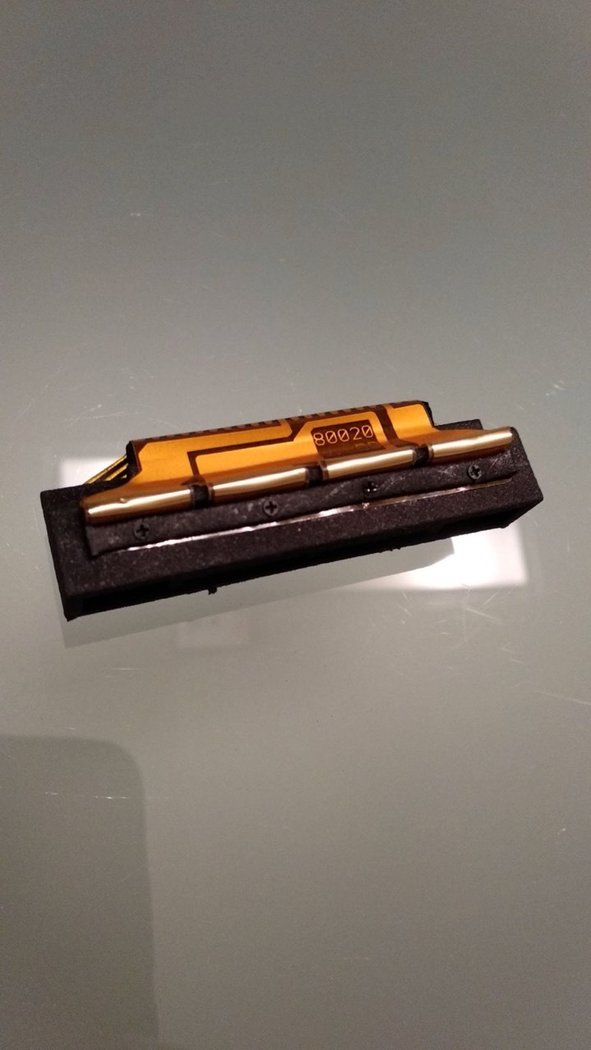
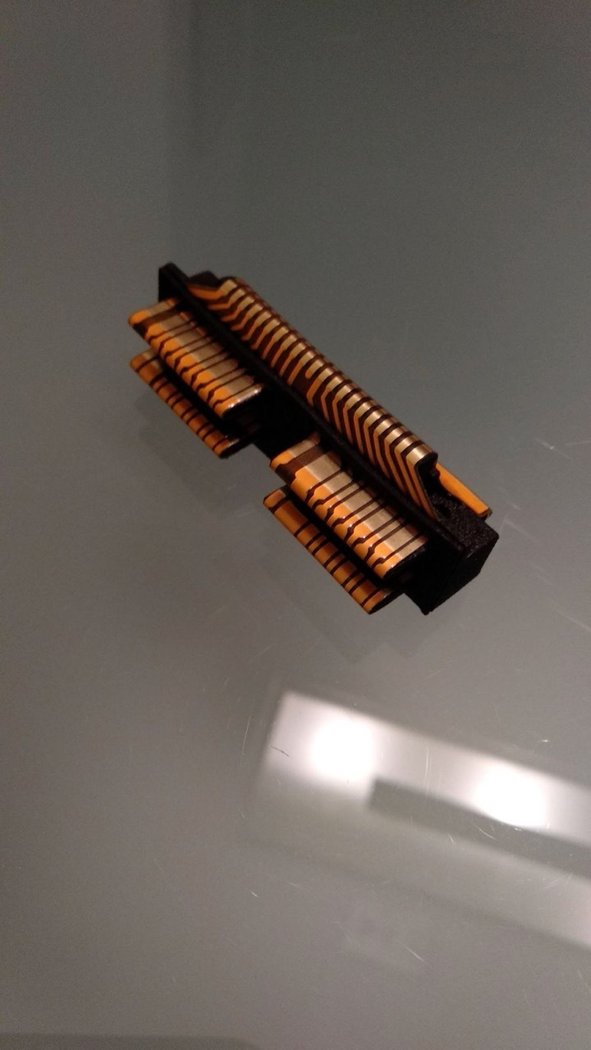
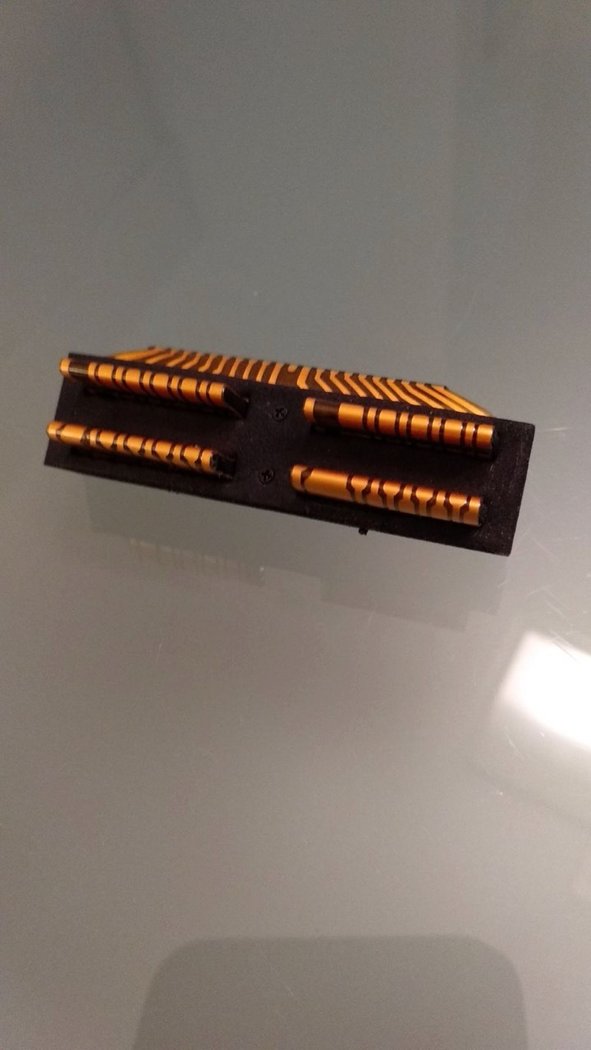
Conector zebra para la reparación del las HP41c full nut
N.º de producto: Zebra PCBEn existencias
Formas de entrega disponibles: Courier Zona 1, Courier Zone 2, Courier Zona 3, Courier Zone 4, Carta, Small item outside EU, Entrega Canarias/Baleares, Overseas traceable, Letter, Entrega gratuita España
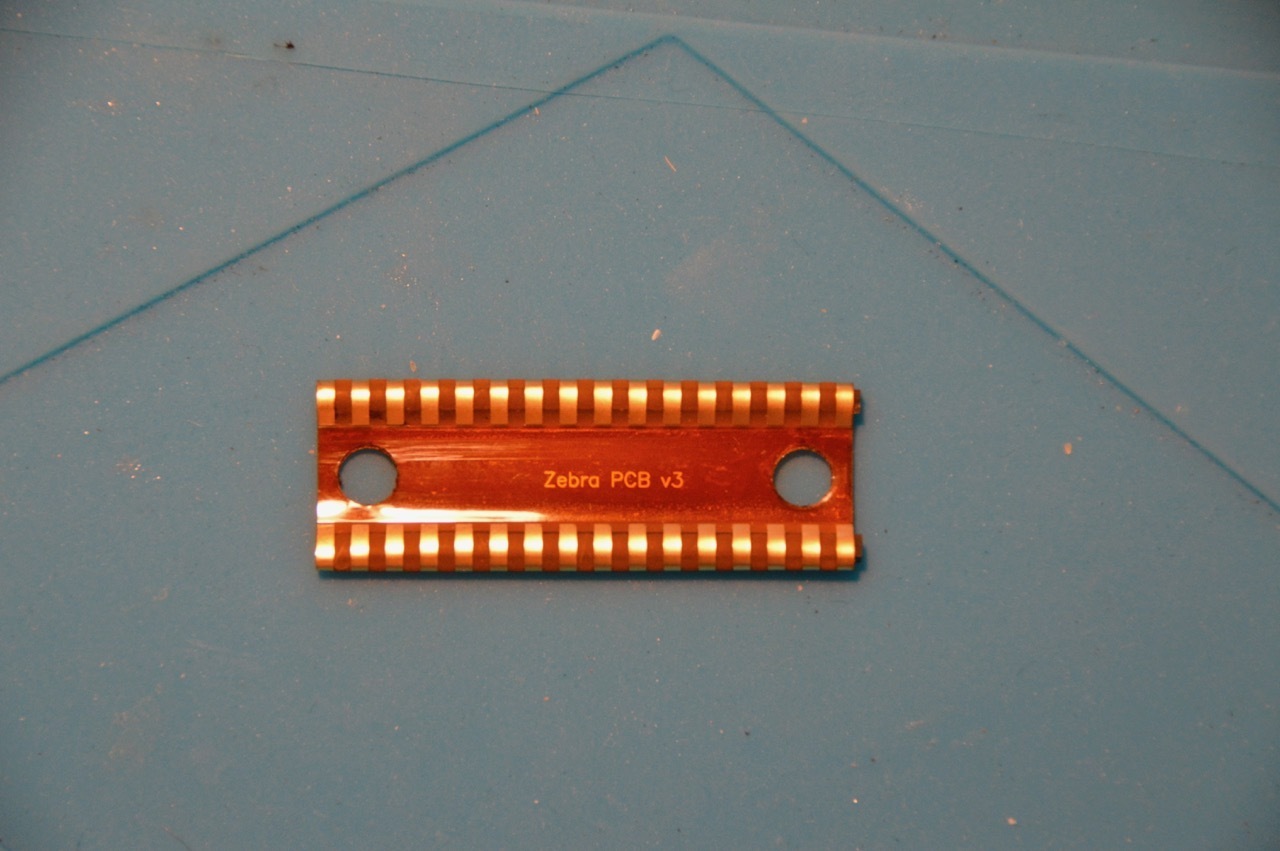
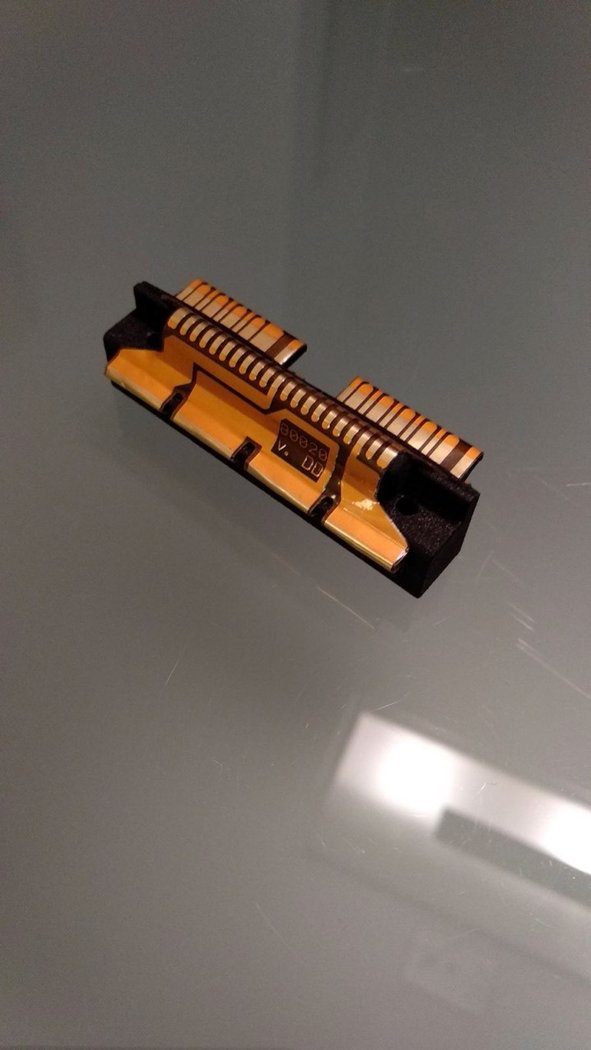
This piece is for repair of HP41c full nut calculator, substituting the damaged or corroded zebra connector that links the main board with the processor circuit. New design in a single piece, with 50 times more conductivity than elastomeric contacts.
Installation instructions
Open the calculator
First remove the rubber feet. To do so, use a small, flat screwdriver and introduce it beneath the rubber, taking care of pulling also the adhesive sheet that glues the rubber to the calculator. Try to make here a good job because usually you will have to reuse the rubber feet when you're done. Put the rubber feet aside so that they don't hinder the work (they have an uncanny ability to adhere to shirts, tools, calculators and eventually get lost.
Unscrew carefully and slowly the four screws beneath the rubber feet. Turn gently the screws: they operate on plastic that, after 30 years, is very brittle and fragile. It is very easy to break a screw post or "overdo" the thread.
Remove the back side of the calculator and put it aside. For comfort, remove also the intermediate piece between backside and main body. Later we will take care of putting it the right way, since it has two ways.
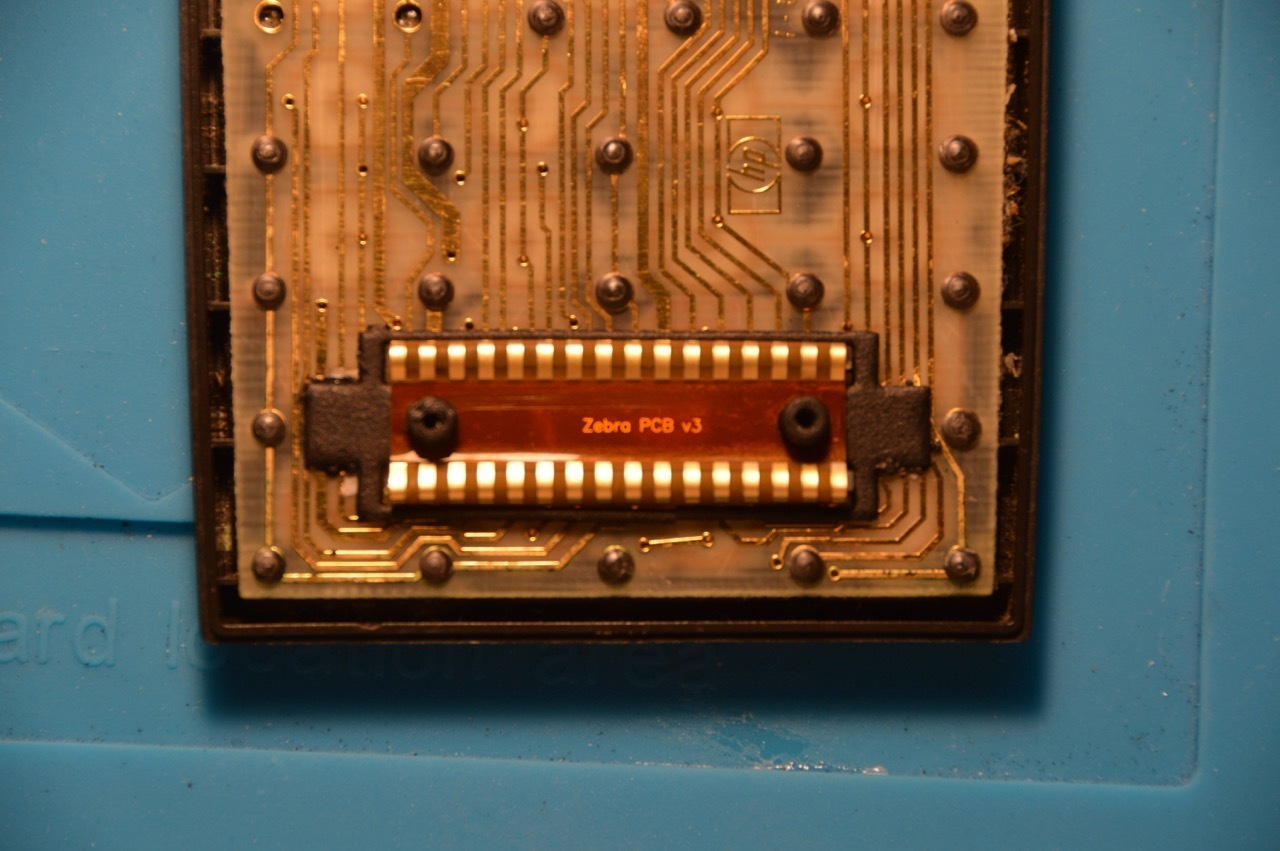
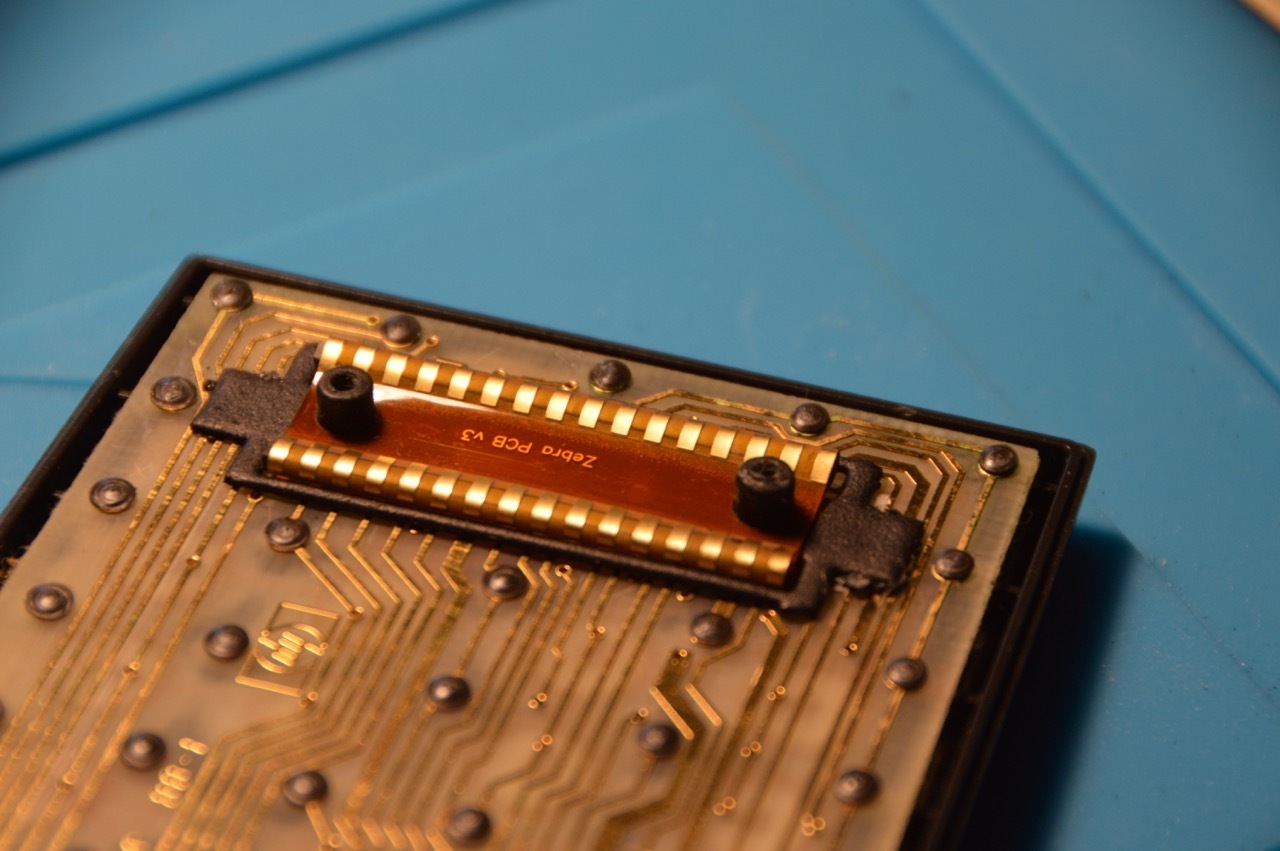
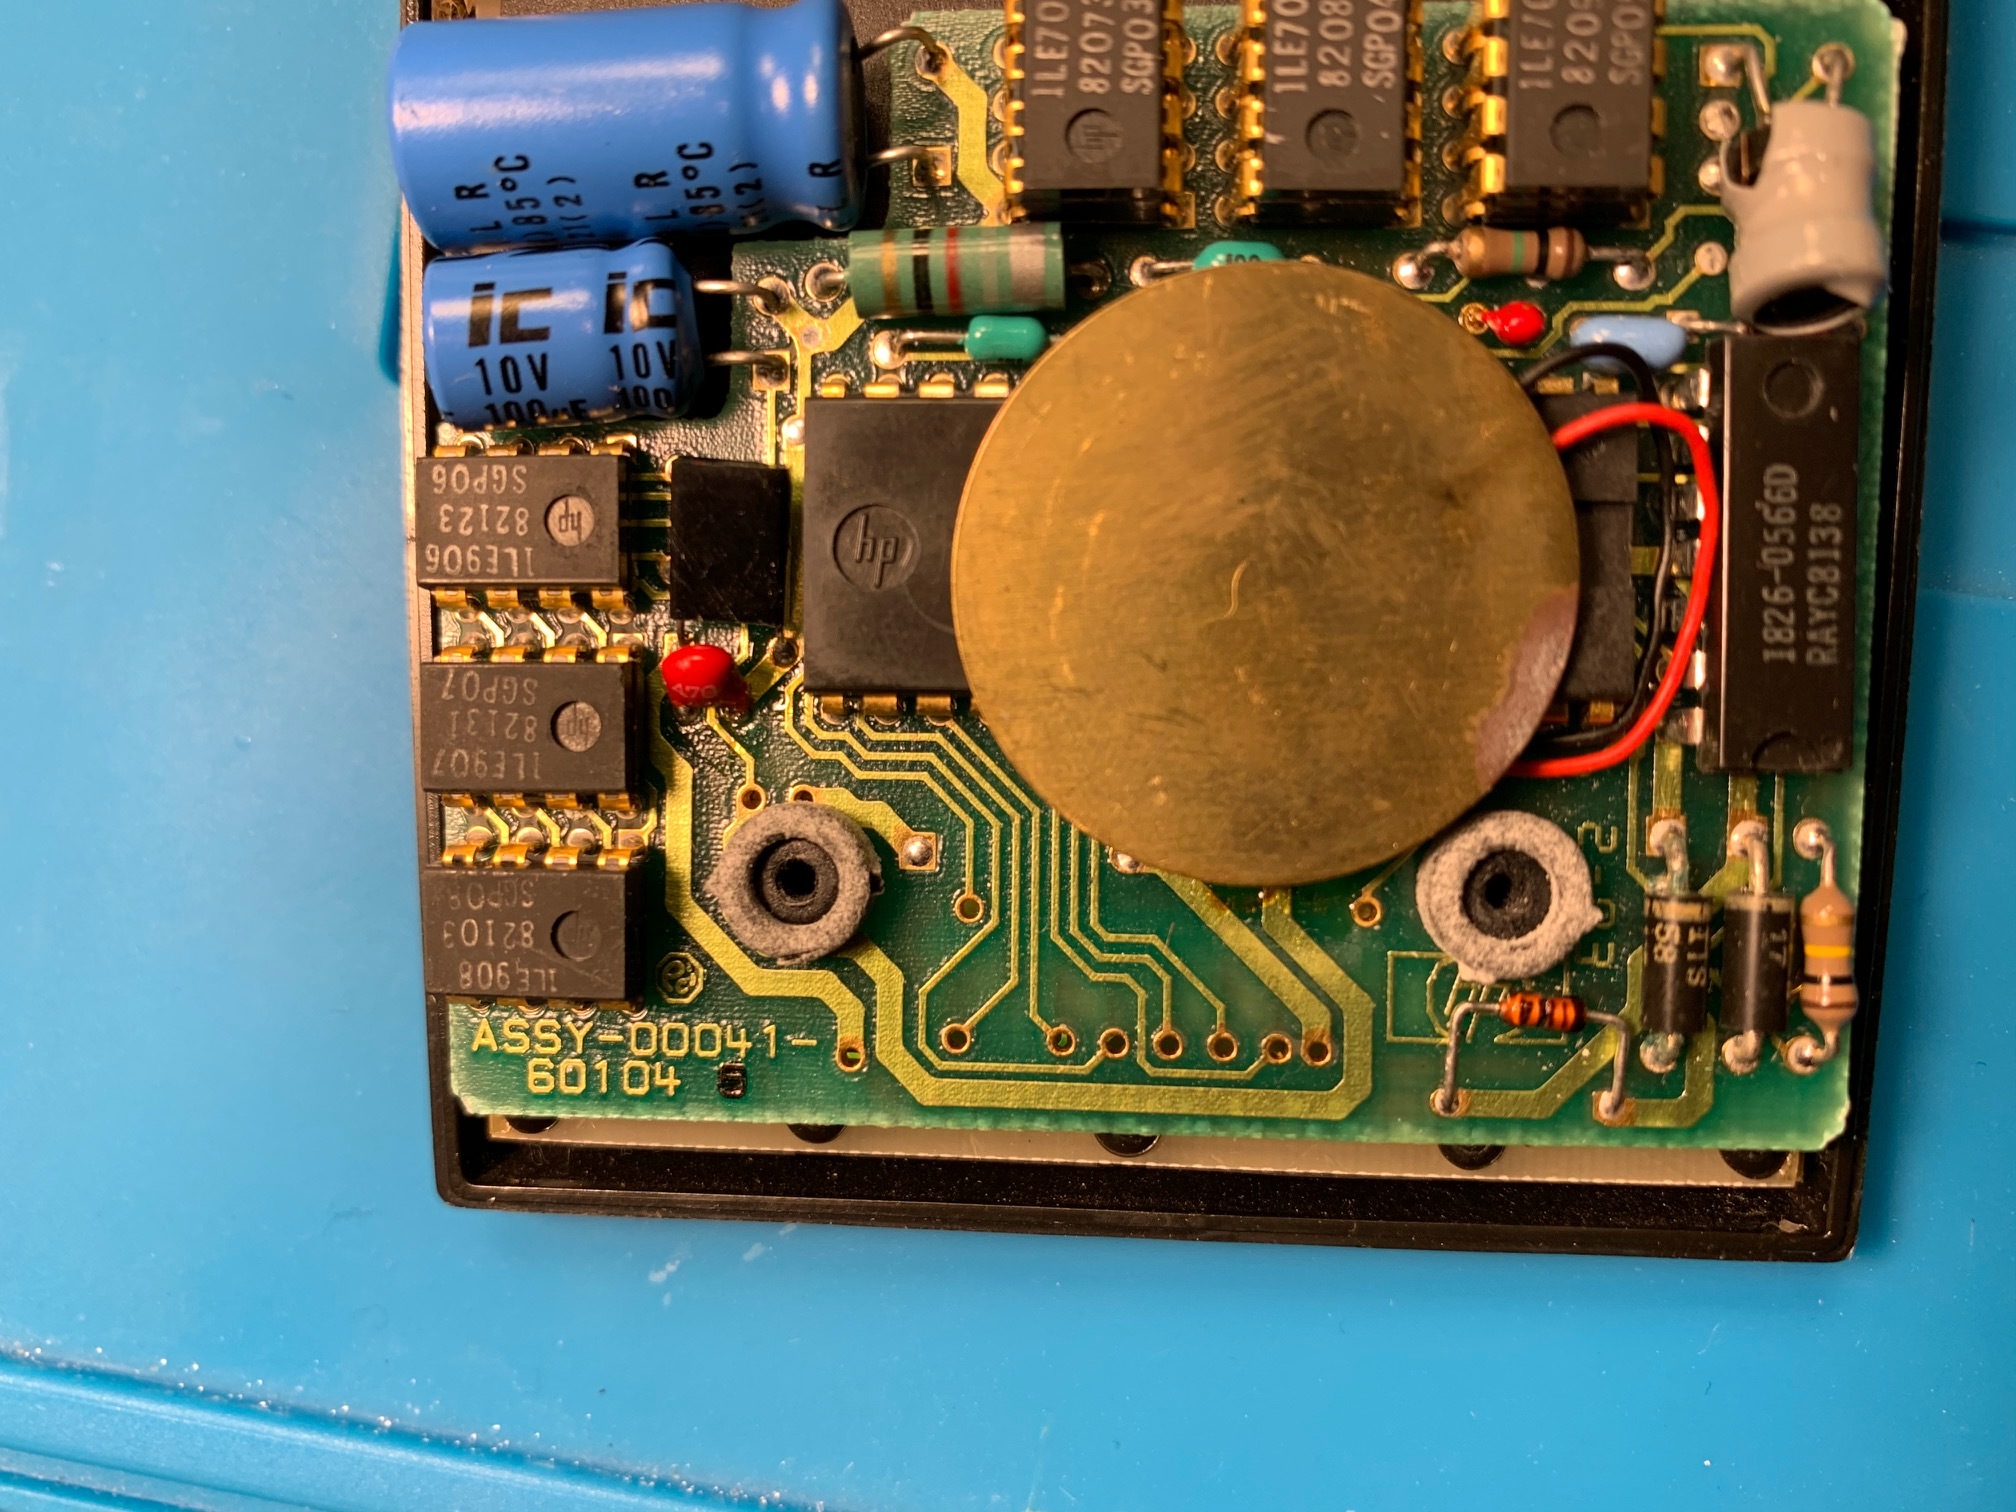
Remove the processor.
There are two possible cases:
- In the old calculators the processor circuit is pressed down to the main circuit by a couple of nuts screwed on the plastic posts. The post do not have any thread themselves - the thread is carved by the nut itself. These have to be removed with care because you risk to break the post, by unscrewing counterclockwise. More than a couple of in and outs and the post will break for sure. Once done, lif the circuit.
- In the newer ones, this pressure is exerted by two cylinders around the screw holes in the back side of the case. These are not present in the old models. You just need to lift the circuit.
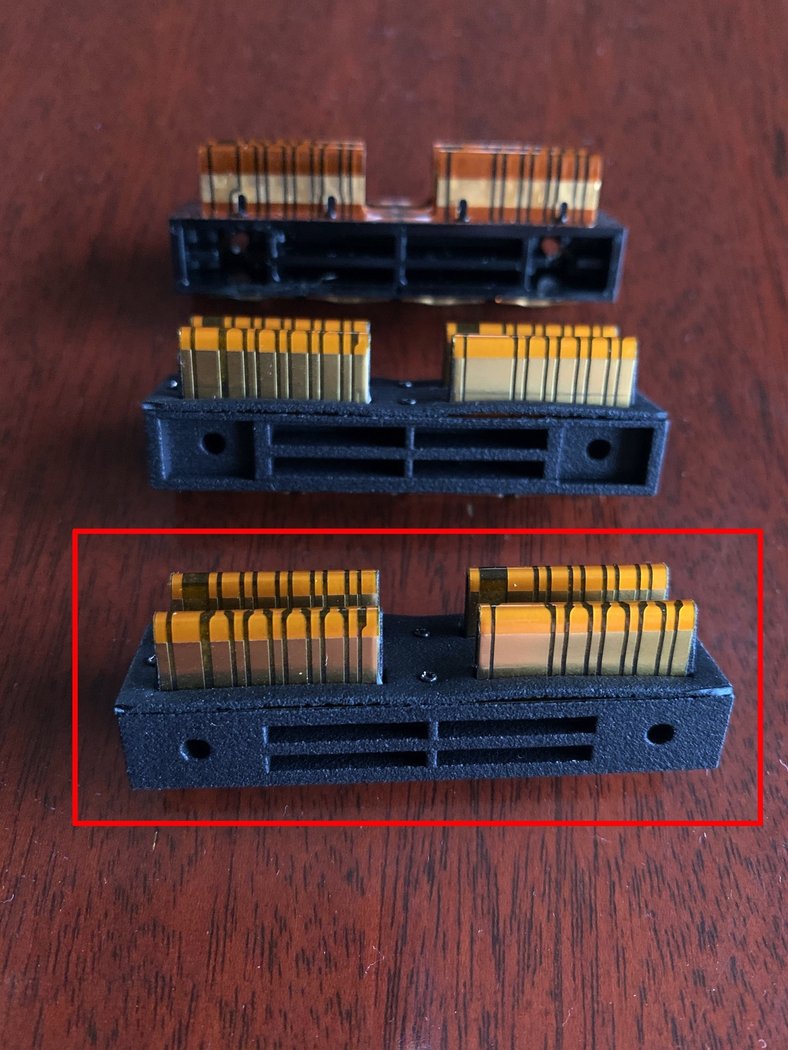
Once the circuit is lifted, you will see the zebra connectors. These may be of three different types (thanks to monte Dalrymple for the image)

- The left one can be reused if treated with care and not corroded - clean it with paper embedded in Caig Deoxit. However, it doesn't work in some circumstances and there is no clear reason why.
- The second is completely useless and will need to be replaced. Every time.
- The thirs type is the best of the lot and can be reused with care if not corroded. It is also sensitive to friction and can be easily damaged. Discard if corroded.

Reassembling - closing the calculator
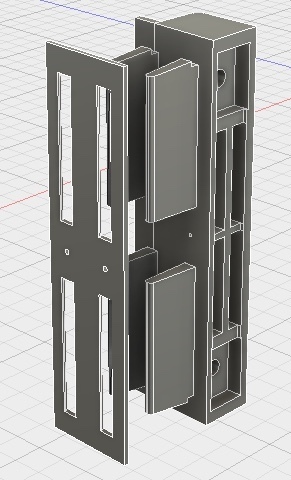
You can now reassemble the calculator. Put the keyboard face down on the table. Then, put the intermediate piece with the open side upwards, taking care that the wider part is up, like "opening up" (this piece has a slight angle when looked from the front of the open side). This is important for the calculator to close properly. See picture.
Then put the back side on top. You can start by any screw - I usually start by the upper ones. If everything is ok, you will be able to screw through the piece and into the calculator. Screw carefully not to break the threads. If that happens, repair will be substantially more complex and will need the upper post repair piece and some drilling.
And that's it!!
Información de producto adicional
Accesorios
| Producto | Nota | Estado | Precio | ||
|---|---|---|---|---|---|
|
|
26,00 € * | |||
|
|
44,00 € * | |||
|
|
22,00 € * | |||
|
|
10,00 € * | |||
|
|
44,00 € * | |||
|
* Los precios incluyen el IVA
Mostrar detalles del accesorio
|
|||||
 Zebra + Lower post
 Spacer set para reparar HP41c
 Módulo conector de baterías y puertos de expansión de HP-41c/cv/cx Plano
Los clientes que han comprado este producto también han comprado
|
|
 |
 |
 |
 |
 |
Examine también estas categorías: El Rincón de la HP41, Accesorios, Inicio, HP 41C Repair, Corroded or broken zebra contacts, Corroded circuit paths, Damaged screen - not all segments light on, The Calculator Store Offers
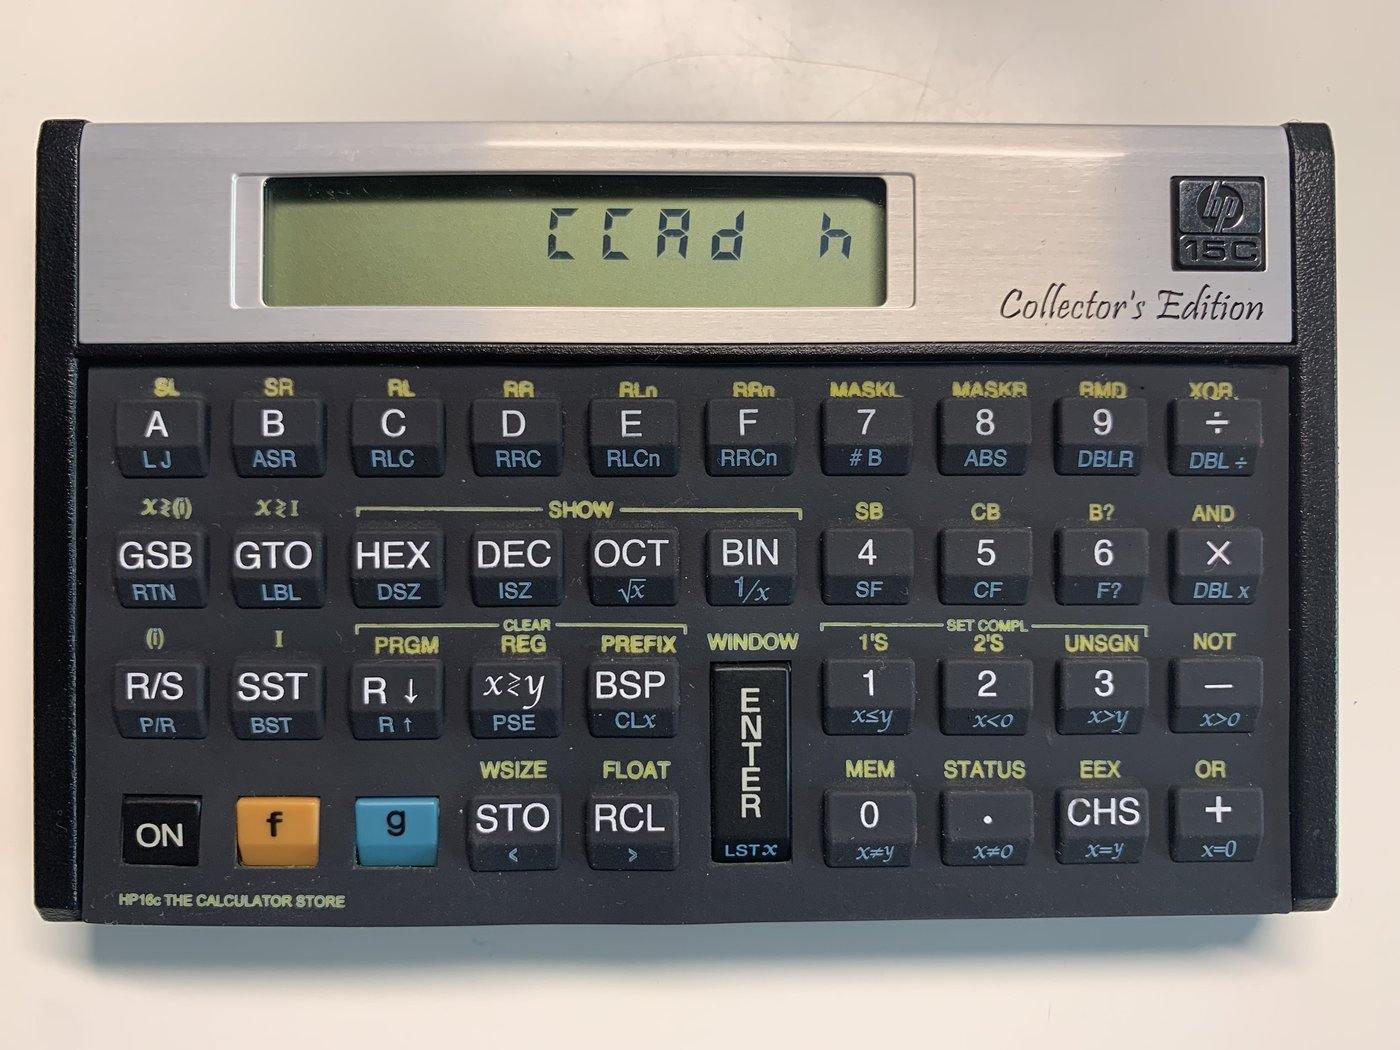
HP15c enhanced pack - B stock
N.º de producto: HP15c_Enhanced_BNo more units available
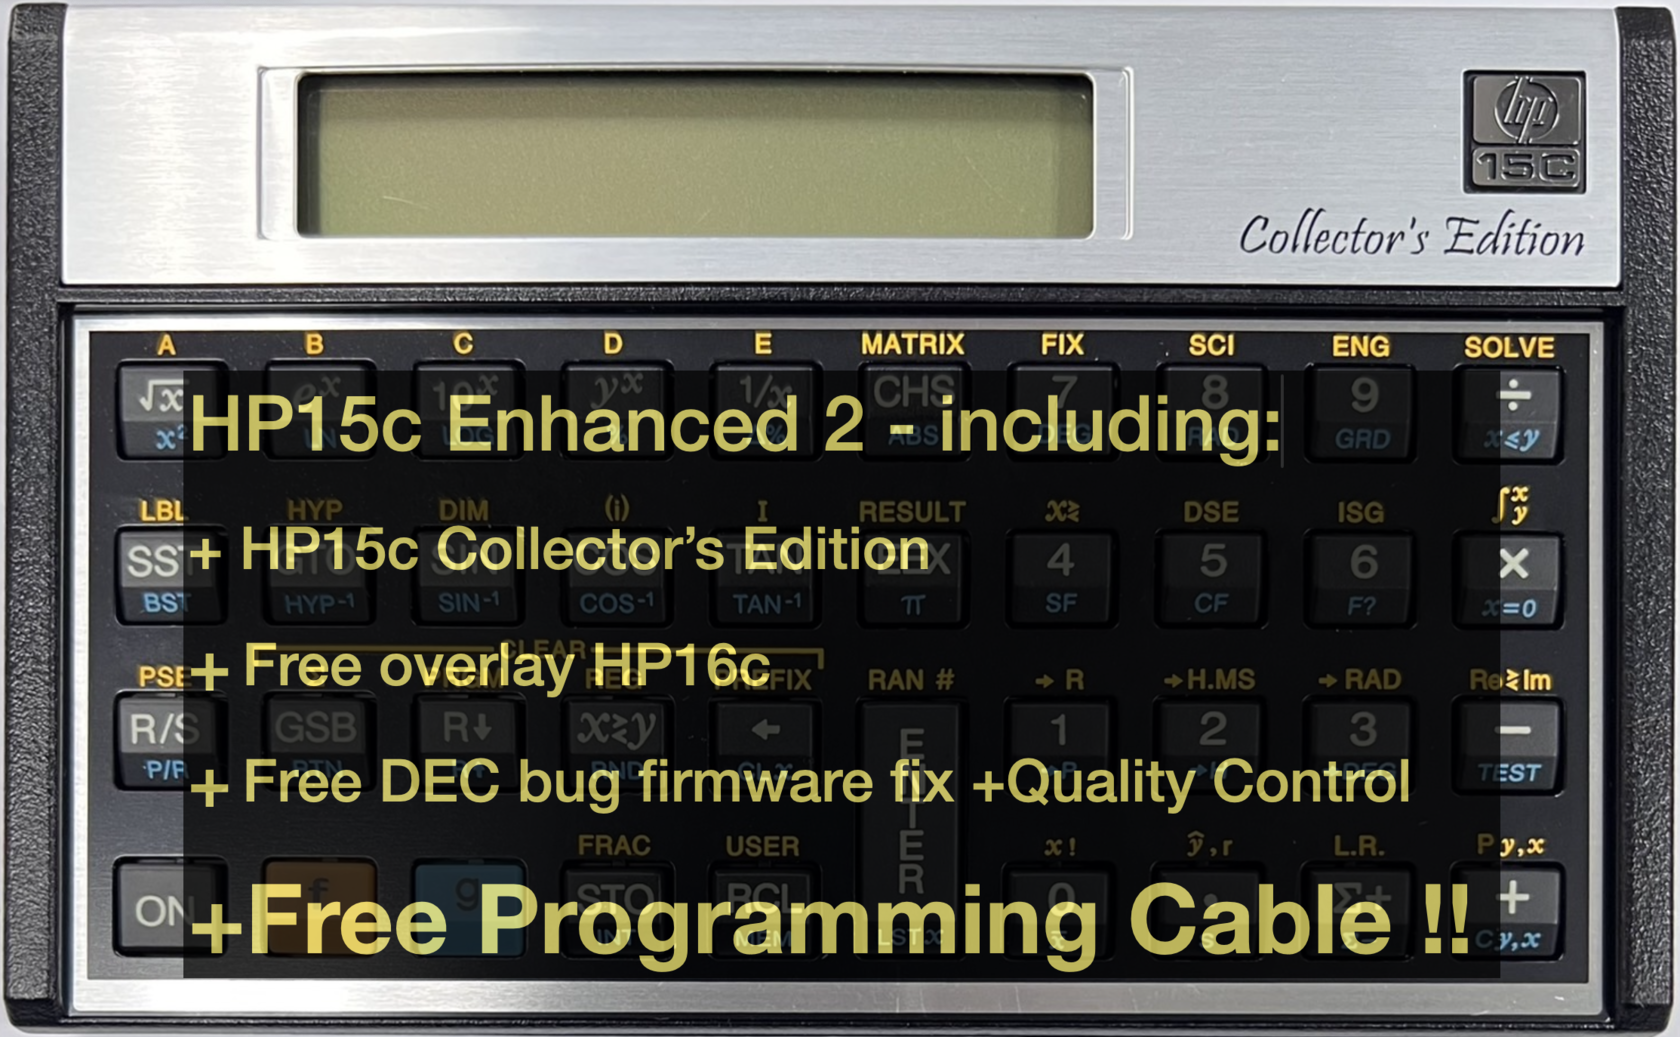


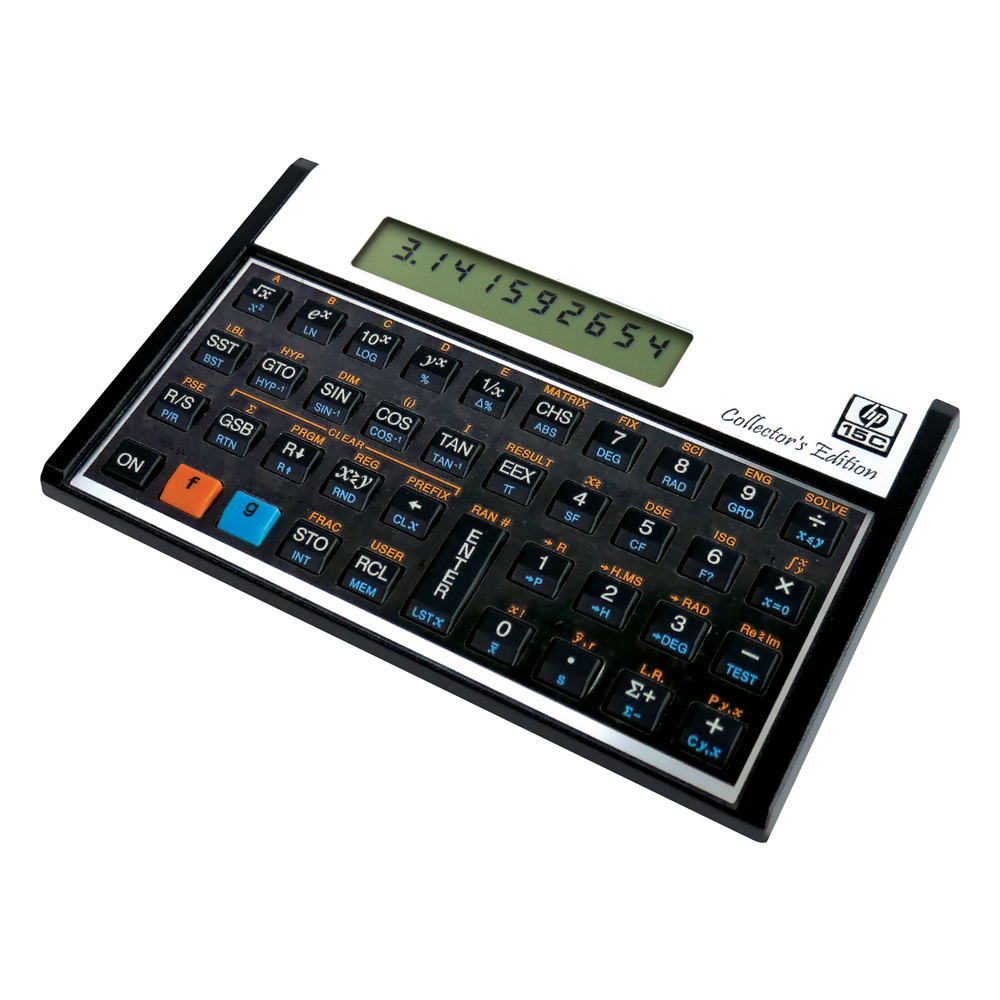
Se incluyen los siguientes productos independientes

|
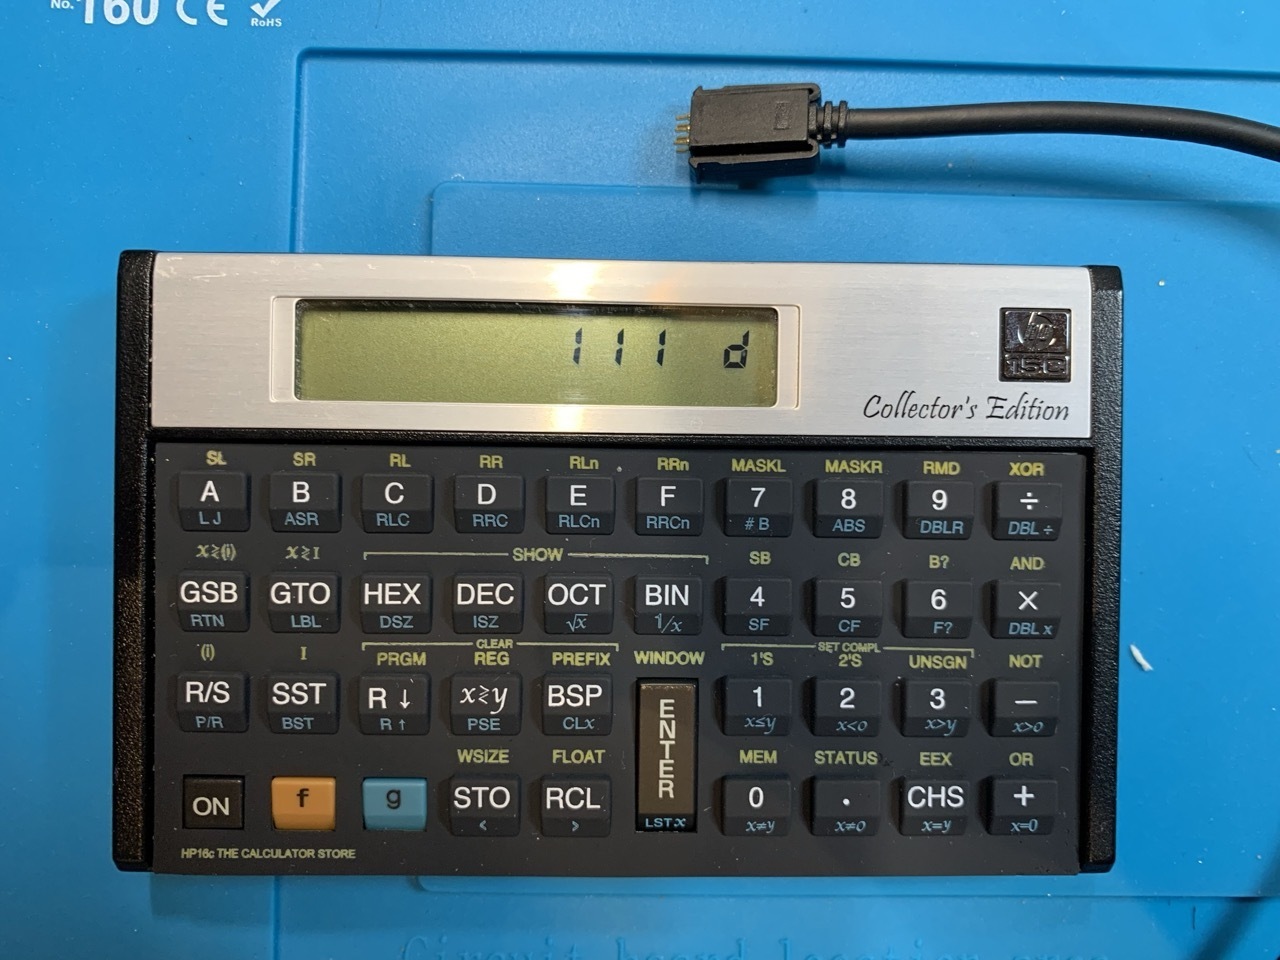
N.º de producto: POGOcable
POGO pin programming cable for HP calculators: for HP12c (after 2015), HP15c CE, HP10bII+. 50% discount if you bought a HP15c Collector's Edition from us |
1 unidad(es)
40,00 €
*
|
|
|
|

|
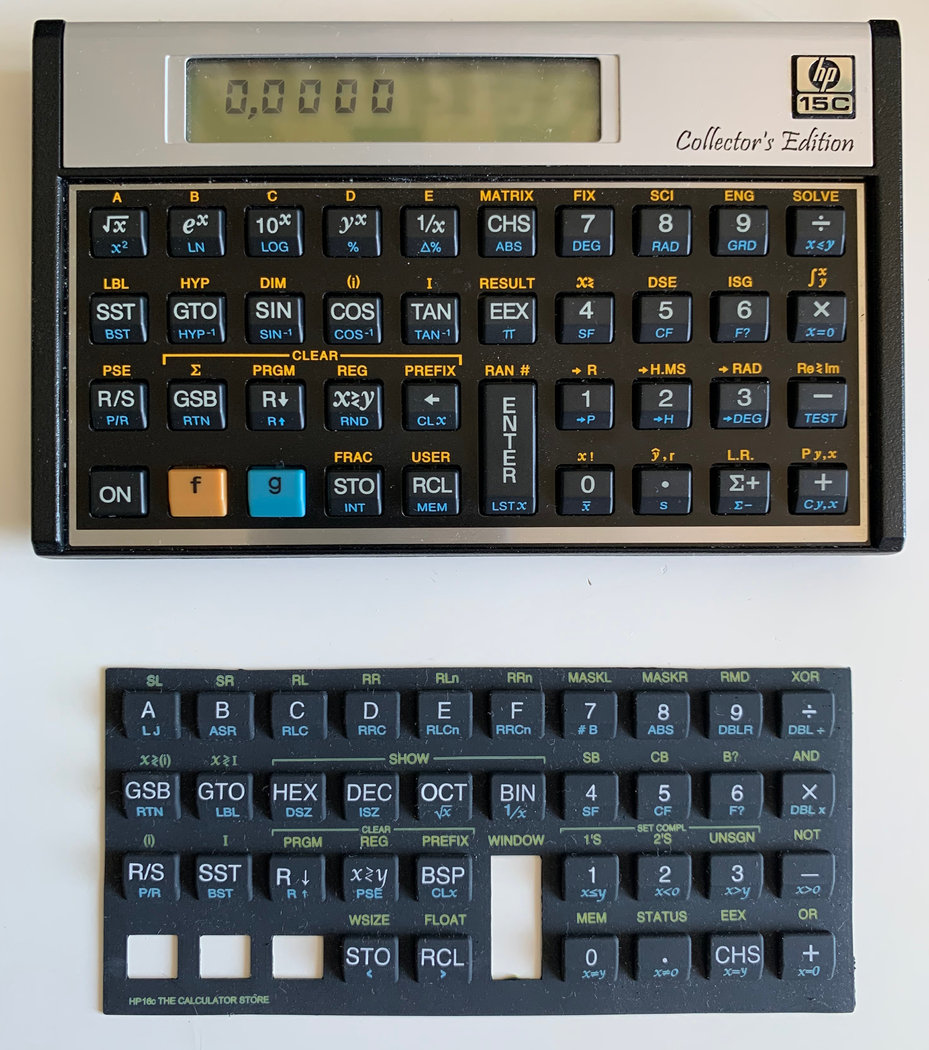
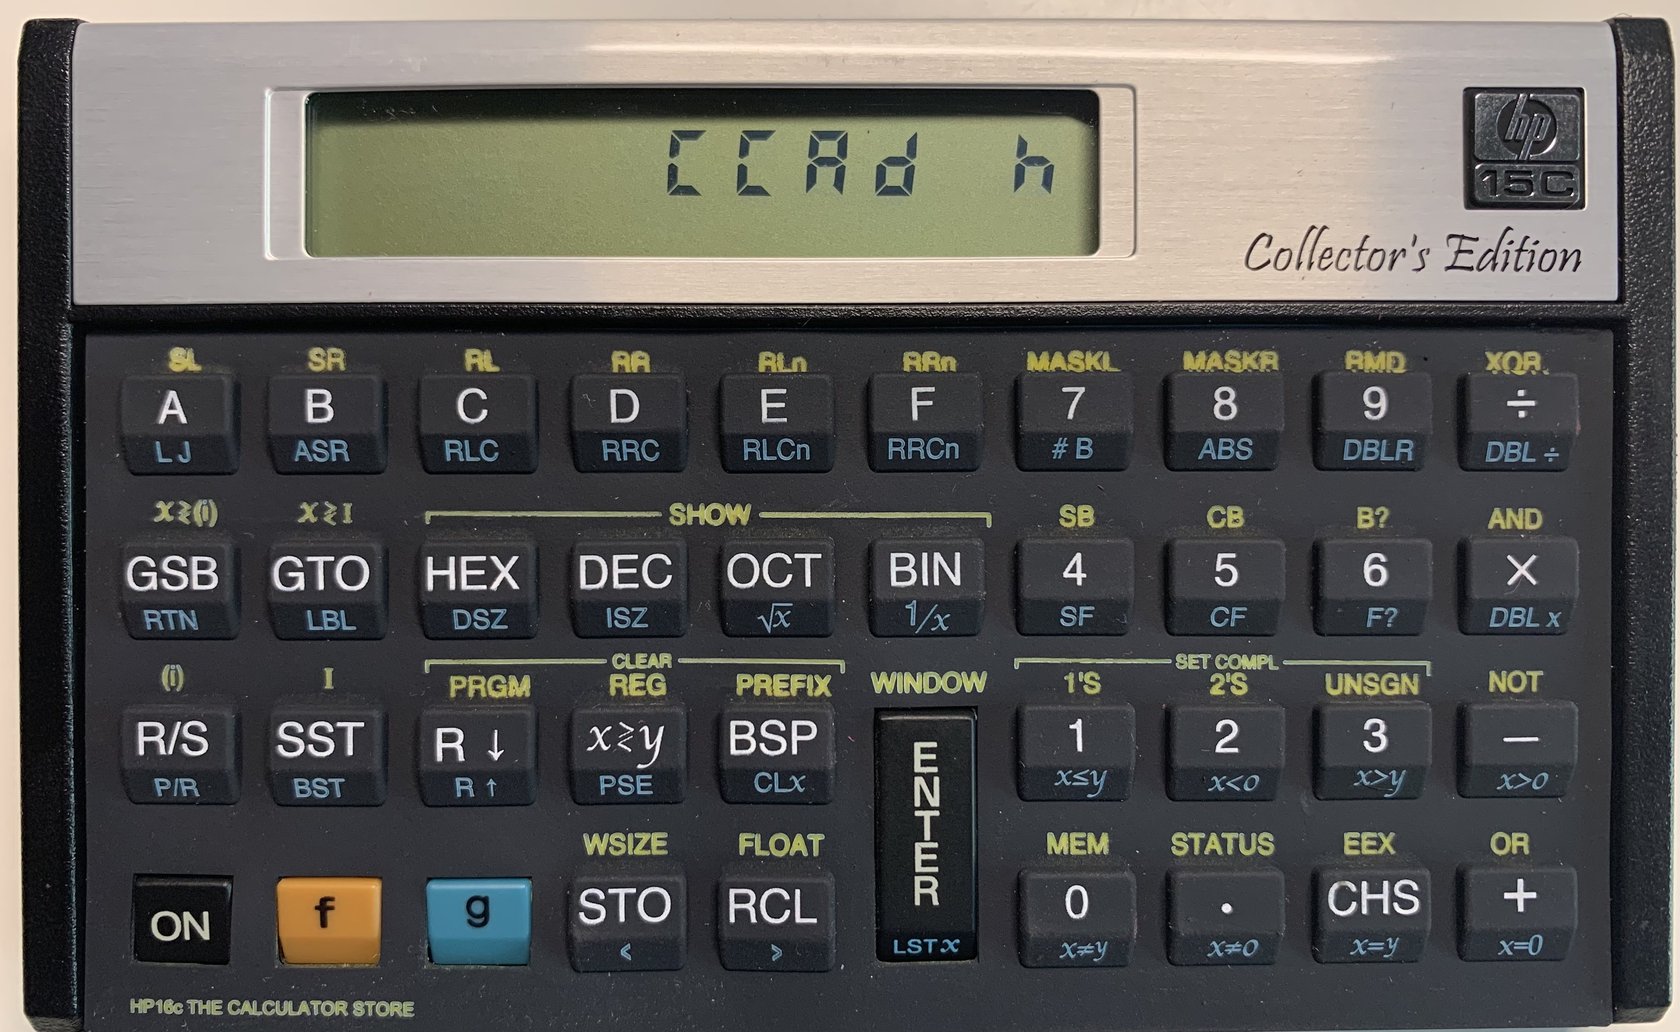
N.º de producto: Overlay16
Test Overlay for HP Voyager calculators |
1 unidad(es)
30,00 €
*
|
|
|
|

|
N.º de producto: HP-15c #INT_2_Bstock
B-Stock: small scratch(es) on bezel. Perfect keyboard. 34% discount on the price of the standard version. |
1 unidad(es)
Precio anterior 129,99 €
|
|
|
|
Accesorios
| Producto | Nota | Estado | Precio | ||
|---|---|---|---|---|---|
|
|
30,00 € * | |||
|
* Los precios incluyen el IVA
Mostrar detalles del accesorio
|
|||||
 Test overlay for HP Voyager calculators
Los clientes que han comprado este producto también han comprado
 |
 |
Examine también estas categorías: Inicio, Calculadoras Clásicas, El Rincón de la HP15c, The Calculator Store Offers, How to use the Programming Cable